A complete guide to setting up Laravel 12 on Windows using Herd and DBngin. Learn how to configure MySQL, manage PHP versions, and avoid common config pitfalls.
Setting up a Laravel development environment on Windows used to be a frustrating process. Developers had to manually install PHP, configure Apache or Nginx, manage virtual hosts, install MySQL separately, and then deal with version conflicts across projects.
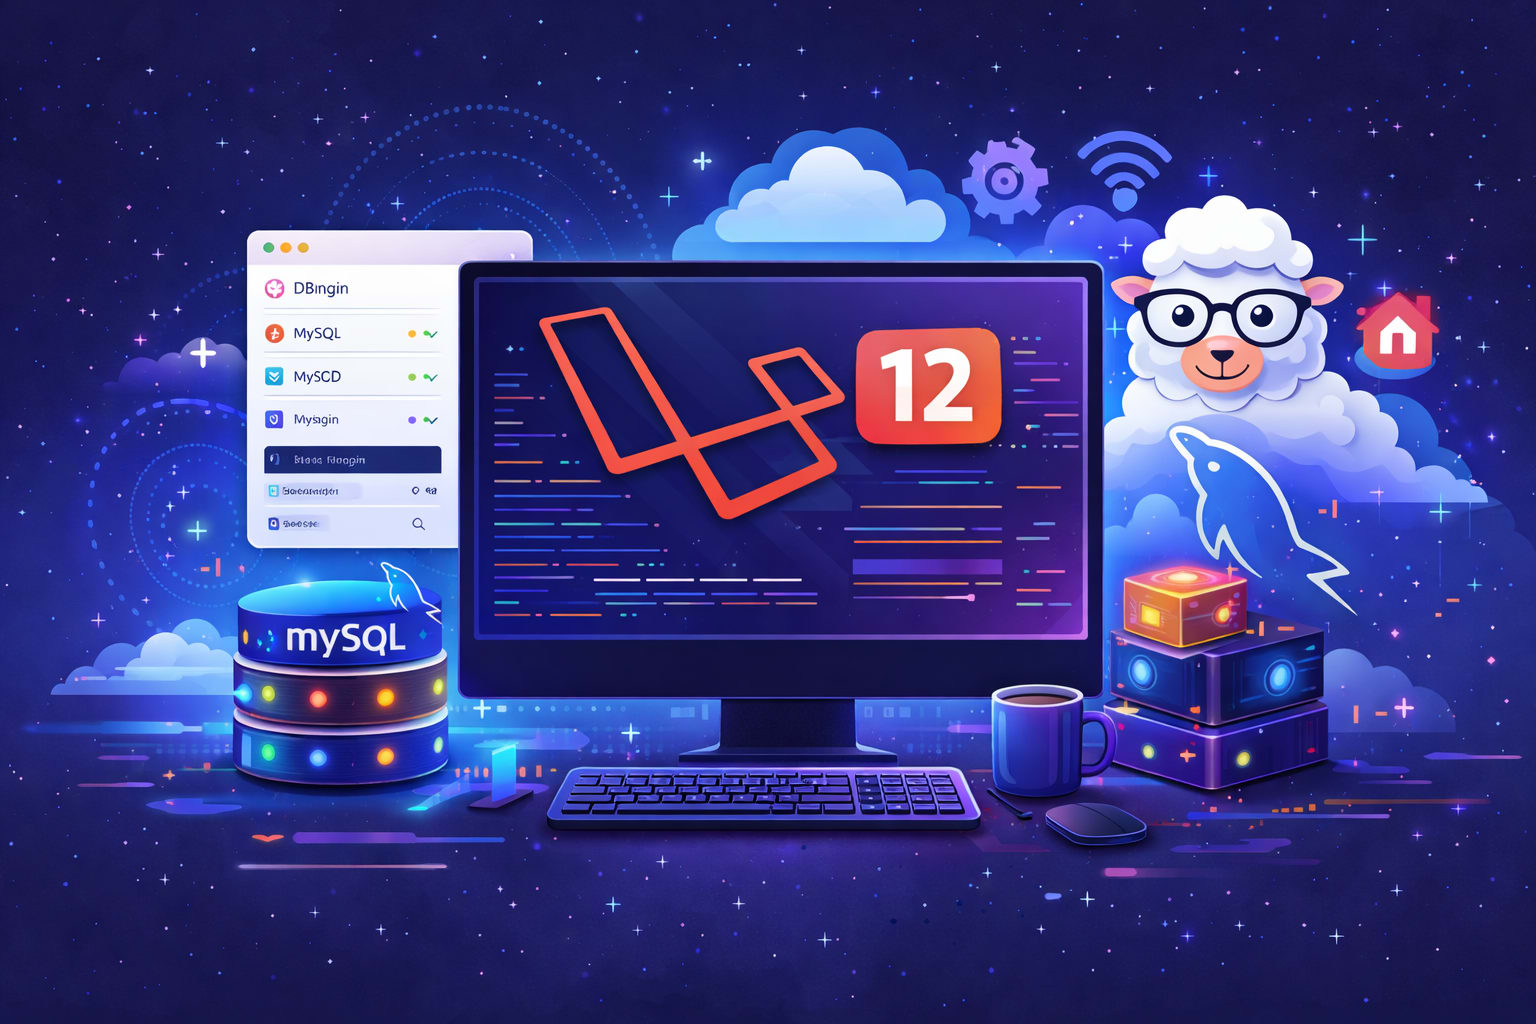
Laravel Herd for Windows changes this completely. It provides a Laravel-focused local development environment that handles PHP versions, web serving, HTTPS, and Laravel tooling automatically. Combined with DBngin for database management, you can have a clean, production-like Laravel 12 setup in minutes.
This guide explains the correct, real-world way to set up Laravel 12 on Windows using Herd, and how to use MySQL instead of the default SQLite.
Why Use Herd for Windows?
Laravel Herd is built specifically for Laravel developers. Unlike XAMPP or WAMP, which are generic PHP stacks, Herd focuses on modern Laravel workflows.
With Herd, you get:
- Automatic PHP installation and version switching
- Built-in Laravel installer and Composer
- Automatic local domains (
.test) with HTTPS - Zero Apache, Nginx, or IIS configuration
- Clean per-project setup
Herd removes the need to manually manage web servers or PHP extensions, which is where most Windows Laravel issues traditionally come from.
Laravel 12 Default Behavior (Important to Understand)
Laravel 12 ships with SQLite as the default database for new projects. This allows Laravel to work immediately without installing any database server.
That means:
- If you create a new Laravel 12 project and do nothing, it will use SQLite
- No MySQL or PostgreSQL is required initially
However, most real projects use MySQL or PostgreSQL, especially when matching production environments. For that, we’ll use DBngin.
Prerequisites
Before starting, make sure you have:
- Windows 10 or Windows 11
- Administrator access (required for Herd installation)
- Git for Windows
- Basic Command Prompt or PowerShell knowledge
No need to install PHP, Composer, Node, or Laravel manually — Herd handles those.
Step 1: Install Laravel Herd for Windows
Download Herd for Windows from the official Laravel website and run the installer as Administrator.
During installation:
- Herd installs PHP, Composer, Node.js, and the Laravel installer
- It configures local DNS handling for
.testdomains - It runs quietly in the system tray after installation
Once installed, open Herd from the Start menu. You’ll see a simple dashboard showing PHP versions and available sites.
Note: Admin access is required because Herd manages local domains and background services.
Step 2: Verify Laravel Installer (Very Important)
Herd automatically installs the Laravel installer, which allows you to create projects using:
laravel new project-name
This method is faster and cleaner than composer create-project.
Verify it works:
laravel --version
If you see a version output, you’re ready.
Step 3: Create a New Laravel 12 Project (Recommended Way)
Navigate to your projects directory:
cd C:\Users\YourUsername\Projects
Create a new Laravel project:
laravel new coolposts
During setup, Laravel will ask configuration questions such as:
- Database type (SQLite, MySQL, PostgreSQL)
- Testing framework
- Git initialization
For now, you can allow SQLite (default). We’ll switch to MySQL shortly.
Move into the project:
cd coolposts
Step 4: Add the Project to Herd
Open Herd and click Add Site.
- Select the Laravel project folder (
coolposts) - Herd automatically detects the
publicdirectory (no manual config needed) - Choose the PHP version (Laravel 12 works well with PHP 8.2+)
- Start the site
Herd will assign a local URL such as:
https://coolposts.test
HTTPS is enabled automatically.
Step 5: Install MySQL Using DBngin (Recommended)
Herd does not always bundle MySQL in the free Windows version. For reliable database management, DBngin is the best solution.
Install DBngin
Download DBngin from the official site and install it.
Create MySQL Server
Open DBngin and:
- Create a new MySQL server
- Choose MySQL version (8.x recommended)
- Start the server
DBngin will show:
- Host (usually
127.0.0.1) - Port (may be
3306or a custom port) - Username (usually
root) - Password (auto-generated)
Create a database, for example:
coolposts_db
Step 6: Configure Laravel 12 to Use MySQL
Open the .env file in your Laravel project and update:
DB_CONNECTION=mysql
DB_HOST=127.0.0.1
DB_PORT=3306
DB_DATABASE=coolposts_db
DB_USERNAME=root
DB_PASSWORD=
⚠️ Note: Leave DB_PASSWORD empty unless you explicitly set one in DBngin. Always use the exact port shown in DBngin.
Step 7: Run Laravel Setup Commands
In your project directory:
php artisan key:generate
php artisan migrate
If you have seeders:
php artisan migrate --seed
If migrations run successfully, your MySQL connection is working.
Step 8: Frontend Assets (Vite)
Herd installs Node.js automatically, so you can run:
npm install
npm run dev
For production builds:
npm run build
Laravel 12 uses Vite by default, so no extra configuration is required.
Common Issues and Real Fixes
Database Connection Refused
- Ensure DBngin server is running
- Check port number carefully
- Confirm database exists
- Restart Herd after DB changes
PDO Driver Missing
Open Herd → PHP settings and ensure:
pdo_mysqlis enabled Restart the site afterward.
Vite Manifest Not Found
Run:
npm run build
or use npm run dev during development.
Port Conflicts
Disable IIS or other web servers using ports 80/443:
netstat -ano | findstr :80
Best Practices
- Keep
APP_ENV=localandAPP_DEBUG=truein development - Use SQLite only for quick demos or tests
- Match production DB (MySQL/Postgres) locally using DBngin
- Use
laravel newinstead of Composer for new projects - Let Herd manage PHP — don’t install PHP separately
Herd vs Traditional Windows Stacks
| Feature | Herd | XAMPP / WAMP |
|---|---|---|
| Laravel-focused | ✅ | ❌ |
| PHP version switching | ✅ | ❌ |
| Automatic HTTPS | ✅ | ❌ |
| No Apache config | ✅ | ❌ |
| Clean per-project setup | ✅ | ❌ |
Final Thoughts
Laravel Herd makes Windows a first-class Laravel development platform. When paired with DBngin for MySQL, it provides a clean, fast, and production-aligned workflow without the historical pain of Windows PHP setups.
Laravel 12’s SQLite default is great for quick starts, but for serious projects, combining Herd + DBngin + MySQL is the most realistic and professional approach.
This setup scales well, stays maintainable, and avoids the configuration traps that slow developers down.
Admin User
Verified CreatorAn expert contributor at CoolPosts, sharing insights on Web Development and digital innovation.